Let Our Packaging Experts Review Your Project
Share your packaging requirements before you leave. Our experts can review your dieline, artwork, materials, inserts, finishing, certifications, MOQ, quality checks, and delivery expectations.

The insert decides whether a chocolate gift box protects its contents or only frames them. Rigid board, foil and printing set the shelf impression, but the compartments, tray or insert determine whether pieces stay separated, seated and clean from the filling line to the customer’s table. For most assortments, the right choice depends on four things: how much your pieces vary in size, how fragile their surfaces are, how the box will be shipped, and how many SKUs you need to keep apart. This guide explains the main insert formats, how to size cavities, what moisture and heat do to the choice, and what to put in an RFQ so a supplier can quote the insert accurately the first time.
“Insert” is the umbrella term for any internal component that positions product inside a box. Suppliers and buyers often use the three words loosely, which causes quotation errors, so it helps to separate them.
A box can combine them. A rigid base may hold a molded tray, with a printed card pad above it, for example. Specify which component does which job: positioning, cushioning, separation, or display.
No single format is best. The table below compares the formats buyers most often evaluate. It is a qualitative guide drawn from how these structures are built, not a set of measured specifications, so confirm details with samples.
| Insert type | Best suited to | Strengths | Limitations | Verify with the supplier |
|---|---|---|---|---|
| Paperboard grid divider | Pralines and truffles of similar footprint; boutique assortments | Printable and colour-matched to the box; lighter and simpler than molded parts; no mold cost for the divider itself | Pieces can shift if cells are loose; limited support for domed or irregular shapes | Cell dimensions, board thickness, how the grid is assembled, whether pieces touch the board |
| Die-cut cavity insert (paperboard) | Mixed shapes in a fixed layout, or non-square boxes | Shaped openings hold each piece in place; layout can follow an octagon or other form | Requires a cutting die per layout; hole size drives fit | Cavity sizes against real pieces, number of layers, adhesive and liner choices |
| Molded blister tray (thermoformed plastic) | Pieces that need a precise contour fit, seasonal sets, individually numbered cavities | Cavity profile follows piece shape; consistent from batch to batch once tooled | Needs a mold; plastic content may conflict with retailer or market sustainability rules | Mold lead time, cavity depth and draft, food-contact documentation, recyclability claims |
| Molded pulp or fiber tray | Brands reducing plastic; heavier or irregular pieces | Paper-based; can follow product contour | Tooling is also required; surface finish depends on the molding process | Surface smoothness, moisture behaviour, whether a liner is needed |
| Loose liner or pad over the top layer | Taking up headspace; separating layers | Reduces movement without more cavities | Does not position individual pieces | Pad thickness against lid depth |
Buyers who want a clean printed grid for truffles and pralines can review a rigid chocolate gift box with logo-printed grid inserts. Its page lists a low-profile two-piece rigid structure with a black grid divider, and describes colours, dimensions and compartment layout as customizable.
One avoidable specification mistake is designing the box first and fitting the insert into whatever space is left. Work in the opposite direction: measure the product, decide the layout, then derive the internal dimensions, and only then finalize the outer box.
Measure the real range, not the nominal size. Hand-finished pralines, enrobed pieces and molded bonbons vary in height and width from batch to batch. If a recipe sheet says a piece is a certain width but production pieces run larger or smaller, a cavity cut to the nominal size will either grip some pieces or let others drift. Give the supplier the measured minimum and maximum, and say whether the piece goes in wrapped, in a paper cup, or bare.
Plan headspace deliberately. If the lid presses on the pieces, surfaces can scuff or smear. If there is excess air above the pieces, they can slide when the box tilts. Shallow boxes make this more sensitive. The listed size of the heart-shaped chocolate gift box with a grid insert is 12 × 12 × 3 cm, which points to a single-layer format. A depth that small leaves little room to correct headspace later, so confirm piece height before approving the dielines.
Account for shape. Non-rectangular outlines waste space with square cells. A die-cut layout can follow the shape instead. The octagonal chocolate gift box with a paperboard insert is described with a fitted paperboard insert with die-cut cavities and a listed size of 10 × 10 × 10 cm, and its page says box dimensions, insert layout and cavity shapes can be adapted. Always ask how the cavity pattern was derived: from the outline, or from the pieces.
Illustrative example (hypothetical, not a customer case): a chocolatier sells nine hand-dipped pralines in a square box. Piece height varies by a few millimetres from batch to batch. If the insert is built for the tallest piece, shorter pieces sit loose and can slide. If it is built for the average, the tallest pieces rub the lid. A shallow liner pad or a modest cell clearance, validated with pieces from several batches, usually solves it better than tightening the cavity.
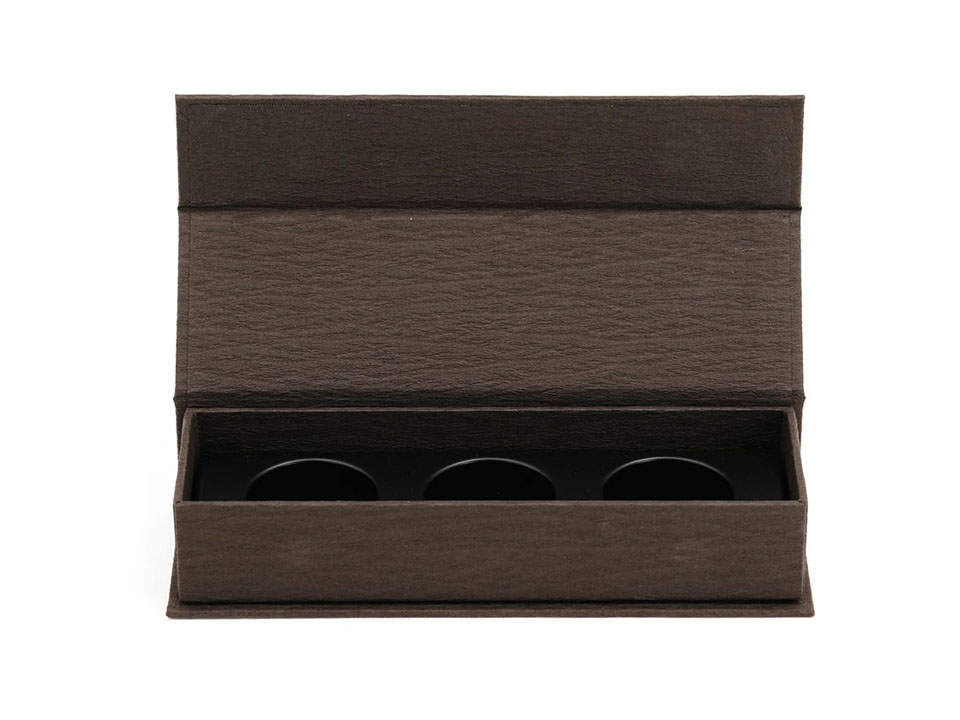
Chocolate’s main storage risks are well documented. Iowa State University Extension’s AnswerLine guidance on chocolate shelf life, storage and bloom recommends storage at 65–70°F with relative humidity below 50–55 percent, in the dark, and describes two bloom types: fat bloom from warm temperatures and sugar bloom from humidity or moisture. The same source states that bloom affects appearance, not taste or safety. For a gift product, appearance is the product, so bloom still counts as a defect.
An insert cannot control the supply chain, but it can influence the micro-environment inside the box. Three points follow from that:
The box style limits which inserts are practical. A lift-off lid box with a shallow base suits a single layer of pieces. A book-style box with a hinged lid suits a fixed-layout tray where each cavity maps to a position, which is why advent formats use them.
The printed advent calendar chocolate box with a blister tray shows this logic. Its page describes a book-style rigid box with a molded black plastic blister tray holding 25 pralines or confectionery pieces, listed at approximately 28 × 28 × 4 cm and customizable. In a countdown product the tray does two jobs: it positions the pieces, and its fixed layout maps each cavity to a position on the printed numbered panel. A loose grid would not do the second job as reliably.
The table below summarizes the five catalog examples referenced in this guide. Sizes and materials come from the product pages and are catalog listings, not guaranteed tolerances; custom projects depend on your pieces and artwork.
| Example format | Structure | Insert | Listed size | Where it fits |
|---|---|---|---|---|
| Logo-printed grid box | Two-piece rigid, lid and base | Black grid divider | Est. 220 × 220 × 40 mm | Boutique truffles, favors, corporate gifting |
| Heart-shaped box | Two-piece rigid, lift-off lid | Compartmented paperboard grid | 12 × 12 × 3 cm | Seasonal and occasion gifting, single layer |
| Octagonal box | Two-piece rigid, lift-off lid | Paperboard insert with die-cut cavities | 10 × 10 × 10 cm | Shaped retail sets |
| Windowed display box | Two-piece lift-off lid, PET window | Bronze inner tray | Approx. 23 × 23 × 4 cm | Shelf display where product visibility matters |
| Advent calendar box | Book-style rigid, hinged lid | Molded blister tray | Approx. 28 × 28 × 4 cm | Fixed-layout countdown and seasonal sets |
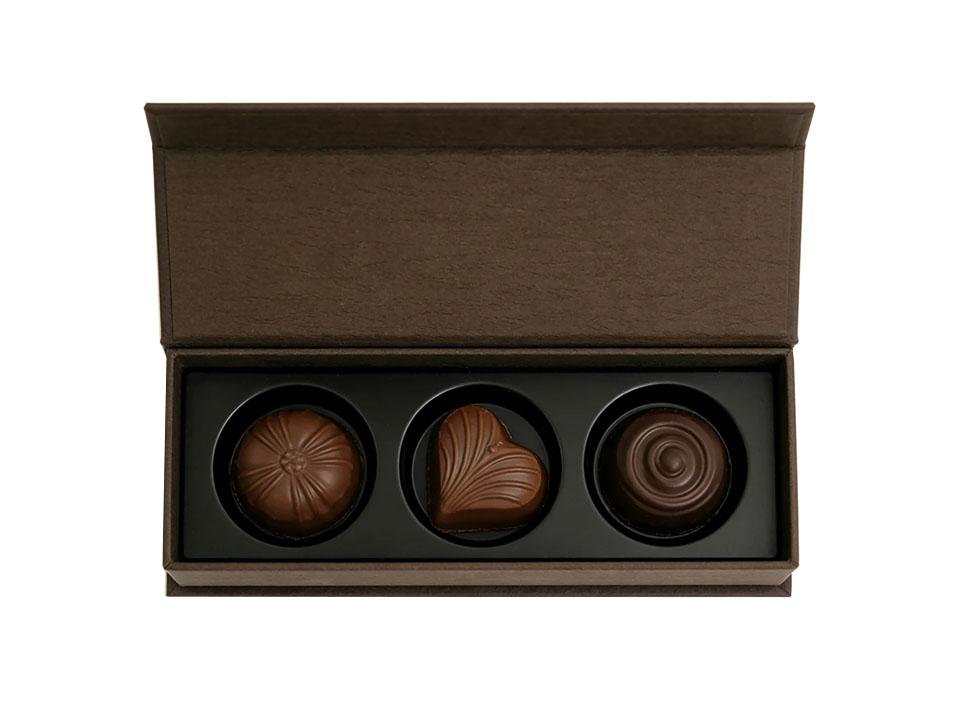
Not automatically. A conventional assumption holds that one tightly fitted cavity per piece is always the safest design. It is often right for fragile, high-value or allergen-sensitive pieces, but it is not a universal rule.
A tight cavity assumes every piece is dimensionally consistent. Where pieces vary, a tight cavity can scuff pieces on insertion, slow hand packing and make the packing line less forgiving. A looser grid with a top pad may protect an assortment of handmade pieces better and cost less than a precisely molded tray. The reverse is true for uniform, glossy, brittle pieces, where a contoured tray prevents contact and chipping.
Compartments also have an operational benefit. When each cavity position is tied to one SKU, a packing mistake is easier to see. For assortments with allergen risk, ask whether the tray layout and the packing map can be set up so that a wrong piece looks wrong. That is a design discussion between your production and quality teams, and it does not replace labeling controls.
Choose cavity-per-piece when pieces are uniform, fragile or high value. Choose a divider grid when pieces are similar in footprint but vary slightly in size. Choose a pad or liner plus a grid when the goal is to reduce movement rather than to showcase each piece.
Whether an insert needs food-contact compliance depends on whether it touches the product directly or only touches an inner wrap, paper cup or foil. Do not assume either way. Ask your supplier to state which components touch the food and what documentation is available for your destination market.
For the United States, the FDA’s guidance on determining the regulatory status of components of a food contact material explains that the regulatory status of a food contact material depends on the status of each substance that makes it up, and that a letter of guaranty can be requested from the manufacturer. For the European Union, Regulation (EC) No 1935/2004 is the framework regulation on materials and articles intended to come into contact with food. Requirements for specific materials, inks, coatings and adhesives vary, so a packaging supplier cannot confirm compliance without knowing the target market and the contact conditions. Ask for the supplier’s documentation for your market rather than relying on a general statement that the box is “food safe.”
Insert price is shaped by decisions you make before the quote, not only by material.
Lowest unit price is not the same as lowest landed cost. An insert that saves a small amount per box can cost more if cracked pieces or returns follow. Weigh unit price against fit, damage in transit, packing speed and shipping dimensions.
A supplier can only quote an insert as accurately as the brief allows. Prepare these items:
Ask for a sample filled with real pieces from more than one production batch, not a dummy only. Include a transit test on the route you will use. If you want to compare formats, send your piece measurements with the quote request through the inquiry form on the relevant product page.
An insert is any internal component that positions product. A divider is one type: a board partition or grid that separates cells. Other inserts include die-cut cavity layers and molded trays that follow the piece shape.
There is no universal figure. Clearance depends on how much your pieces vary, whether they are wrapped, and the insert material. Measure pieces from several batches, give the supplier the minimum and maximum, and validate fit with filled samples.
It can be, particularly for wrapped pieces or pieces in paper cups. Whether it touches the chocolate directly changes the compliance and liner requirements. Ask the supplier to state food-contact status and supply documentation for your target market.
Choose a blister tray when pieces are uniform and need a contoured, repeatable fit, as in fixed-layout advent sets. Choose a paperboard grid for flexible layouts, printed interiors and lower tooling needs, or where plastic is restricted.
Windows are not harmful in themselves, but they add light exposure, and Iowa State Extension advises storing chocolate in the dark and at cool room temperature. Consider display conditions, shelf time and window size when choosing a windowed lid.
Send piece dimensions with minimum and maximum, wrapping type, layout and SKU map, box structure, target market, printing needs, shipping route, filling method, quantity and delivery date. Request samples filled with real pieces.
Comments