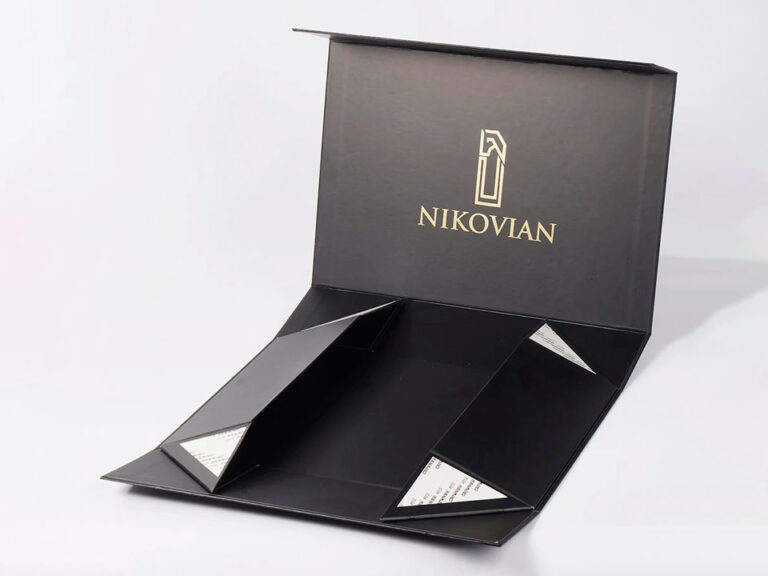
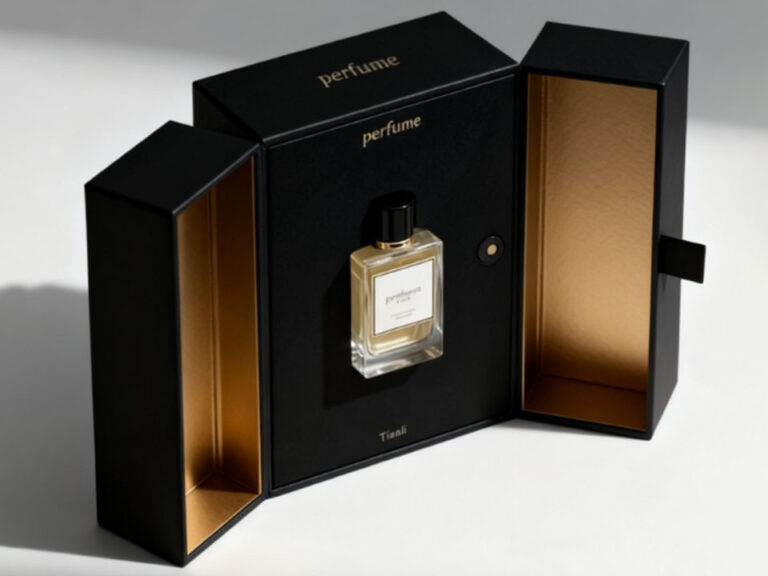
Let Our Packaging Experts Review Your Project
Share your packaging requirements before you leave. Our experts can review your dieline, artwork, materials, inserts, finishing, certifications, MOQ, quality checks, and delivery expectations.

To make custom cosmetic boxes for skincare, work in this order. Define the product and sales channel, choose a structure, design the insert around the filled product, build a dieline with space for required label content, approve a physical sample, and only then lock the artwork and finishes. Most delays and reprints come from skipping a step, usually by finalizing artwork before the bottle dimensions or label panels are confirmed. This guide walks through each stage and the decisions buyers face at each one. It also explains how to compare box structures, what finishes do, how U.S. label rules affect layout, and what to include in a request for quotation.
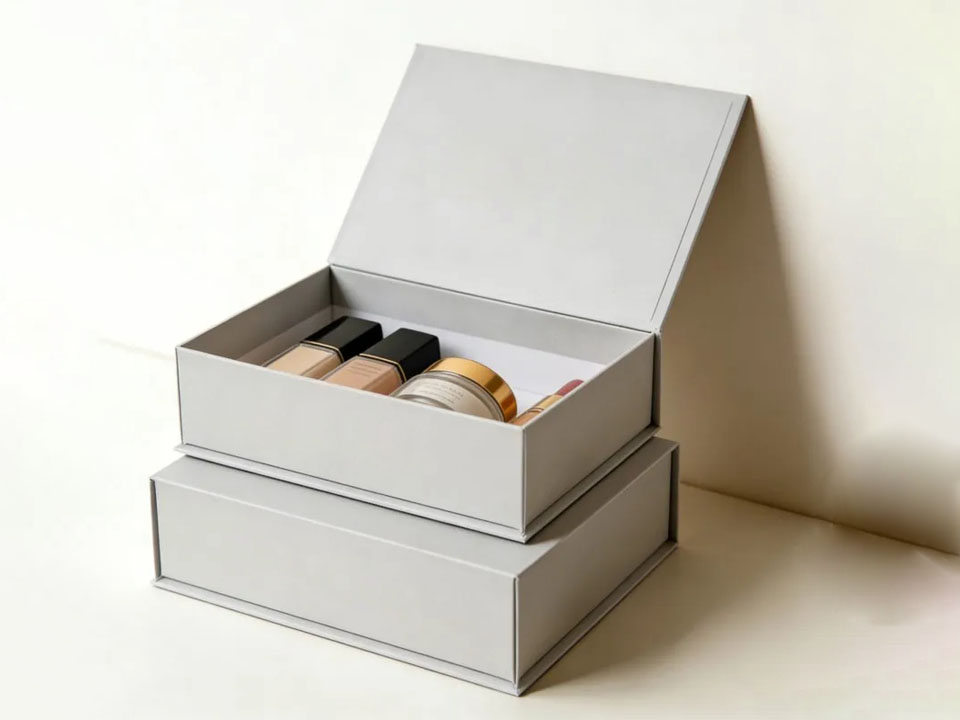
A box is designed around three facts: what goes inside, how it will be sold, and what the customer should feel on opening it.
Write these down before you contact a supplier:
The channel has the largest effect on structure. A box that sits on a shelf can prioritize appearance. A box shipped through parcel networks needs to survive drops and compression, which usually means a sturdier build or an outer shipper.
The manufacturer’s custom cosmetic boxes page describes folding cartons as cost-efficient, easy to ship flat and suited to high-volume retail. It positions rigid boxes for premium launches, luxury sets and influencer kits, and corrugated mailers for e-commerce protection. That matches general industry practice. The table below turns it into a decision aid.
| Structure | Best suited to | Strengths | Trade-offs |
|---|---|---|---|
| Folding carton | Single serums, creams, high-volume retail | Lower unit cost, ships flat, supports detailed print | Less rigid; the premium look depends on finishes |
| Rigid lid-and-base (lift-off) | Multi-item gift sets, seasonal sets | Strong shape retention, reusable feel | Higher cost, more freight volume |
| Rigid magnetic-flap box | Skincare sets, wellness kits | Easy opening, secure closure, clean look | Magnet and hinge details need sample testing |
| Rigid drawer box | Ampoule sets, multi-item kits | Items stay organized, opening feels staged | More components and tighter fit tolerances |
| Book-style or double-door rigid box | Single hero products, launch kits | Strong presentation, interior print space | Hinge construction and interior panels add steps |
| Corrugated or folding mailer | Direct-to-consumer shipments | Better transit protection | Less suited to a slim retail profile |
To compare examples, you can browse the cosmetic box collection, which lists rigid, drawer, magnetic, book-style and mailer formats.
Drawer boxes. The two-drawer skincare ampoule gift box is a rigid case with two stacked pull-out drawers. According to the product page, each drawer holds a fitted die-cut insert with individual product slots and an extra compartment for accessories. The page also lists ribbon pull tabs and a red wrapped exterior. Drawer formats suit sets where you want items separated and revealed in stages. They also require tight tolerances, because a drawer that binds or slides too freely is obvious to the customer.
Shaped boxes. A shaped structure can differentiate a seasonal or gift line. The heart-shaped bath and body rigid gift box uses a two-piece lift-off lid with a fitted die-cut insert, according to its product page. The page also lists greyboard construction wrapped in printed art paper. Non-rectangular shapes can waste material and shipping space, so ask for a cost comparison against a standard square box before committing.
Magnetic closures. The peach foil skincare gift box with magnetic closure has a hinged magnetic flap with hidden magnets, floral line-art printing and a foil logo area, according to the product page. The page says the base can take paperboard, EVA, pulp or foam inserts for jars, bottles, tubes or accessories. When you request a sample, check the closing action, the alignment of the flap and whether the magnets stay hidden after repeated opening.
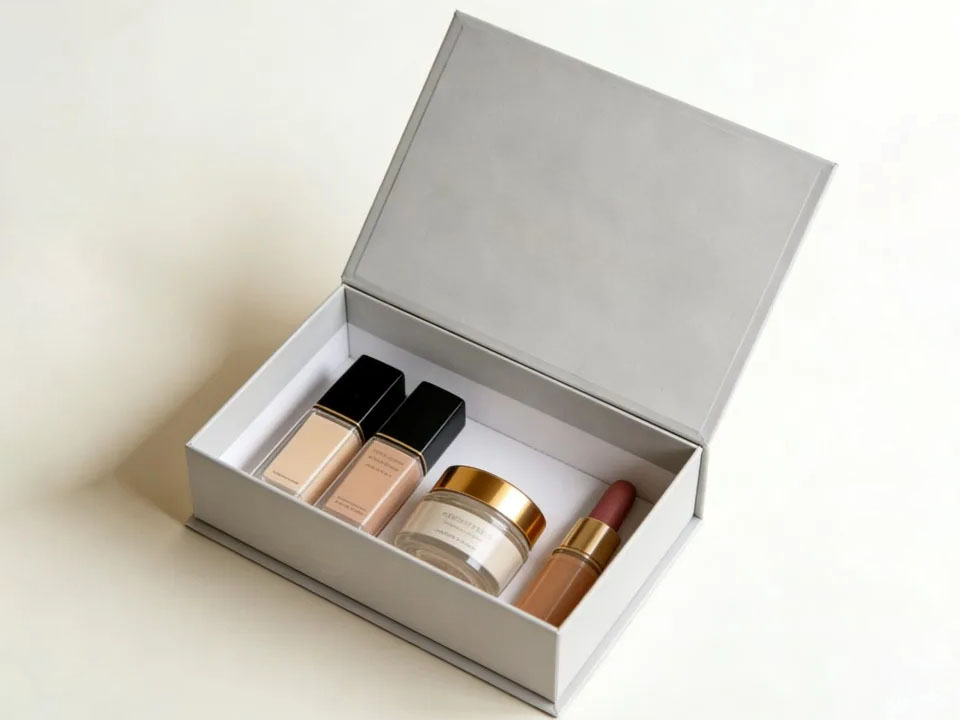
Materials set cost, weight, feel and sustainability positioning.
A box is secondary packaging. It does not replace a well-chosen primary container, and it is not a leak barrier. If a serum or oil leaks inside a wrapped paper box, the paper can stain or swell. Choose bottle closures and seals on their own merits, and check how the box reacts to contact with your formula.
Choose the insert material based on how the product behaves:
| Insert type | Typical use | Consider |
|---|---|---|
| Die-cut paperboard | Light bottles, ampoules, sets with a paper-only positioning | Fit depends on precise cutting; limited cushioning |
| Foam | Heavier glass, fragile items | Stronger cushioning; less aligned with plastic-free claims |
| EVA | Jars, tubes, mixed sets | Soft, clean look; confirm recyclability claims separately |
| Molded pulp | Sustainability-led brands | Surface finish differs from foam; test the fit |
The dieline is the flat technical drawing that shows every fold, panel and cut of the box. Artwork is placed onto it. Getting it right early prevents most downstream problems.
Give the supplier a physical bottle or jar whenever possible. Catalog dimensions are an approximation. Two bottles sold as the same size can differ in shoulder shape, cap height or glass thickness.
A hypothetical example shows the risk. Suppose a brand approves a two-drawer ampoule box using catalog ampoule dimensions. The production ampoules turn out slightly longer because of the tip, so they sit proud of the die-cut slot and the drawer cannot close fully. The fix is a new insert and a new drawer depth, and the first production run may be wasted. A filled-product fit test on the white sample prevents this.
Include these items in the dieline brief:
The manufacturer’s cosmetic page says digital printing can support faster sampling and flexible artwork changes on smaller launches, while offset is often preferred for larger orders because of color consistency and unit cost. Treat this as a general guideline and ask each supplier what it recommends for your quantity.
Common finishes and their practical effects:
| Finish | Effect | Check before approving |
|---|---|---|
| Soft-touch lamination | Velvety feel, subdued color | Scuffing on dark colors; ask for a rub test on a sample |
| Gloss or matte lamination | Surface protection and sheen control | Fingerprints on gloss; color shift on matte |
| Foil stamping | Metallic logo or detail | Minimum line weight; small text can fill in |
| Embossing or debossing | Tactile logo | Needs adequate board thickness and tooling |
| Spot UV | Gloss contrast on matte | Registration accuracy |
| Pantone color matching | Brand color consistency | Approve a printed sample under controlled light |
Use finishes selectively. One tactile finish and one metallic or gloss accent usually look more refined than several competing effects. Color-matching is also easiest to judge on a physical sample, since screens do not reproduce foil or lamination.
Skincare falls under cosmetics regulation in the United States, so box design has to leave space for required information. This section covers U.S. rules only. Other markets, including the EU, have their own requirements. It is general information, not legal advice, so confirm the details with a regulatory adviser.
Several federal labeling provisions are relevant:
The Modernization of Cosmetics Regulation Act (MoCRA) adds further obligations. According to FDA’s overview of the Modernization of Cosmetics Regulation Act, a responsible person must include a copy of the label on or within the retail packaging when reporting serious adverse events. The same page lists safety substantiation and product listing duties. It also says FDA is required to establish regulations that include fragrance allergen labeling requirements, so check the current status when you finalize copy.
Which information belongs on the outer box and which on the primary container depends on how the product is sold. Have a regulatory adviser decide that before artwork is approved. In practice, reserve label panels in the dieline and keep a text size that stays legible after printing.
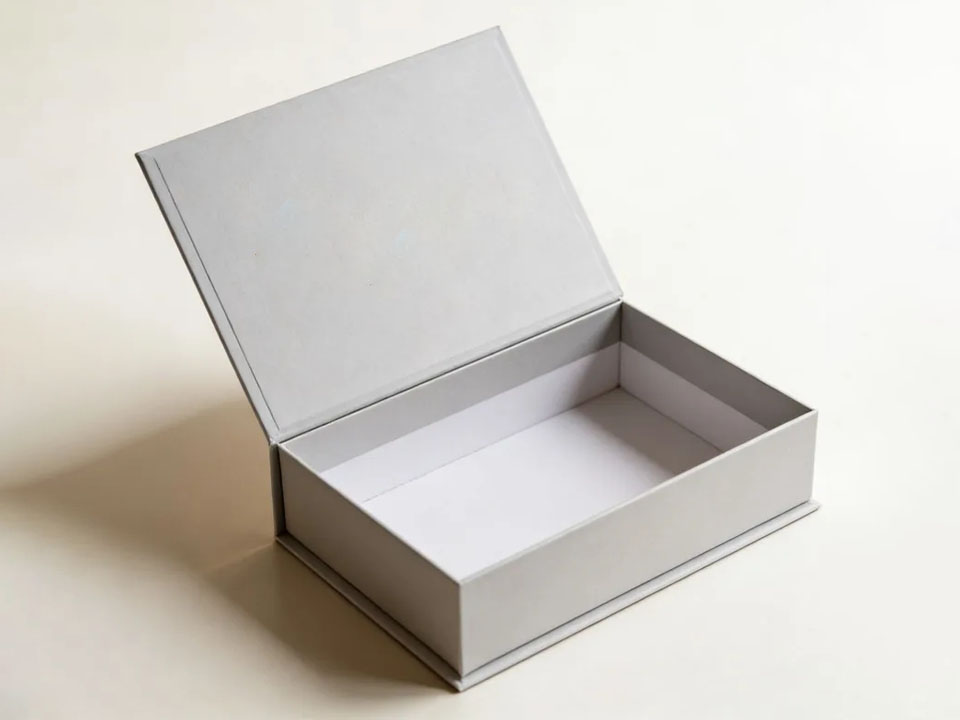
Sampling lets you catch problems when they are still cheap to fix. A sensible sequence:
Test the sample as the customer will use it. Open and close it repeatedly, lift it by the lid, and ship it once through your actual carrier if you sell online.
Ask each supplier how it checks quality before shipping. Useful points to cover:
Rigid boxes ship assembled in most cases, which raises freight volume. A quote that looks cheap per unit can cost more once shipping is added, so compare total landed cost: unit price, tooling, samples, freight, duties and any rework risk.
A complete RFQ shortens the process and makes quotes comparable. Include:
You can send dielines, product dimensions, reference photos or samples to the manufacturer, according to its cosmetic page. Treat any supplier claims about order sizes, lead times or shipping terms as items to confirm in writing during quoting.
Define your product and channel, choose a structure, design the insert around the filled product, build a dieline with label space, approve physical samples, and then confirm finishes and production. Provide a physical product sample to your supplier.
Folding cartons suit high-volume retail and lower budgets. Rigid boxes suit gift sets and premium launches. Mailers suit e-commerce. The right choice depends on your product’s fragility, price position and how it ships.
U.S. rules require an ingredient list, net quantity, and the name and place of business of the manufacturer, packer or distributor on the label. Confirm which items go on the outer box versus the container with a regulatory adviser.
Yes, a physical sample is the safest way to check dimensions, insert fit, color and finish. Test it with your actual filled product. Digital proofs cannot show how foil, lamination or board feel.
Paperboard suits light bottles and ampoules, foam suits fragile or heavy glass, EVA suits mixed sets, and molded pulp suits sustainability-led brands. Test fit and cushioning with your filled product before approving.
They add shape retention, a premium feel and reuse value, which suits gift sets and launch kits. They also raise unit cost and freight volume, so compare total landed cost against folding cartons.
Include product dimensions and weight, structure, materials, insert layout, artwork and finishes, label panels, quantity, destination, timeline and sampling needs. Complete briefs make supplier quotes comparable and reduce revision cycles.
Comments